f you use a MacBook Air, you probably know it has only USB-C ports. This is great for speed and convenience, but it can be a challenge when you want to plug in an HDMI monitor, TV, or projector. That’s where a USB C to HDMI solution becomes essential. The good news is that the process is simple, and with a high-quality cable or adapter, you can get fast, stable, and crystal-clear video output.
In this article, I’ll walk you through how to connect HDMI devices to your MacBook Air, and why using a reliable cable from a professional manufacturer makes a big difference in performance and experience.
Why You Need a USB C to HDMI Cable for Your MacBook Air
Modern MacBook Air models only come with USB-C or Thunderbolt ports. That means no direct HDMI port. So if you want to connect to an external display, you definitely need a USB C to HDMI cable or adapter.
A good cable helps you:
- Mirror your MacBook Air screen to a bigger display
- Extend your workspace with a second monitor
- Stream movies and games on your TV
- Present documents or slides on a projector
If you choose high-quality cables, you also get better resolution, smoother video output, and stable connections. As a factory specializing in USB and HDMI products, Smartavlink design our cables with strong compatibility and durable materials to avoid signal dropouts and overheating, which are common issues with low-quality adapters.
Step-by-Step: How to Connect HDMI to a MacBook Air Using USB-C
Connecting your MacBook Air to an HDMI device is fast and easy. Just follow these steps:
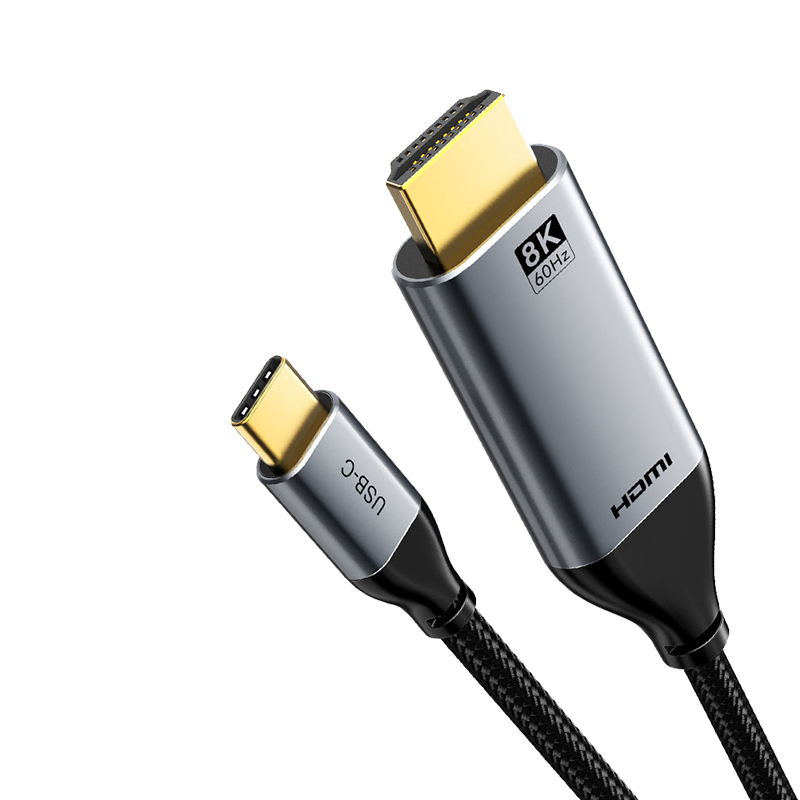
- Choose the Right USB C to HDMI Cable
Make sure the cable supports at least 4K video at 60Hz if you want smooth and sharp visuals. Not all cables are equal. Our factory-grade cables use upgraded chips, thicker copper cores, and strong shielding to keep the signal stable. - Plug the USB-C Connector into Your MacBook Air
Insert the USB-C end into either Thunderbolt/USB-C port of your MacBook Air. It doesn’t matter which side you choose. - Connect the HDMI End to Your TV, Monitor, or Projector
Plug the HDMI connector into the HDMI input of your external device. Make sure the cable fits firmly. - Select the Correct HDMI Input
On your TV or monitor, switch to the HDMI port you just used. Most devices have multiple HDMI inputs, so double-check the label. - Your MacBook Air Should Automatically Detect the Display
In most cases, your MacBook Air will detect the external display automatically.
If not, go to:
Apple Menu → System Settings → Displays → Detect Displays - Adjust Display Preferences
You can choose either Mirror Mode (same screen on both devices) or Extend Mode (extra workspace).
This is useful for multitasking, presentations, or entertainment setups.
That’s it — your MacBook Air is now connected to an HDMI device via USB-C.
Product Advantages: Why Our USB C to HDMI Cable Performs Better
When it comes to USB-C to HDMI connectivity, quality matters. As a dedicated USB and HDMI cable manufacturer, we focus on delivering products that provide real value and long-lasting performance. Here are some advantages of our USB C to HDMI cable:
- Strong Chipset for Stable Signal
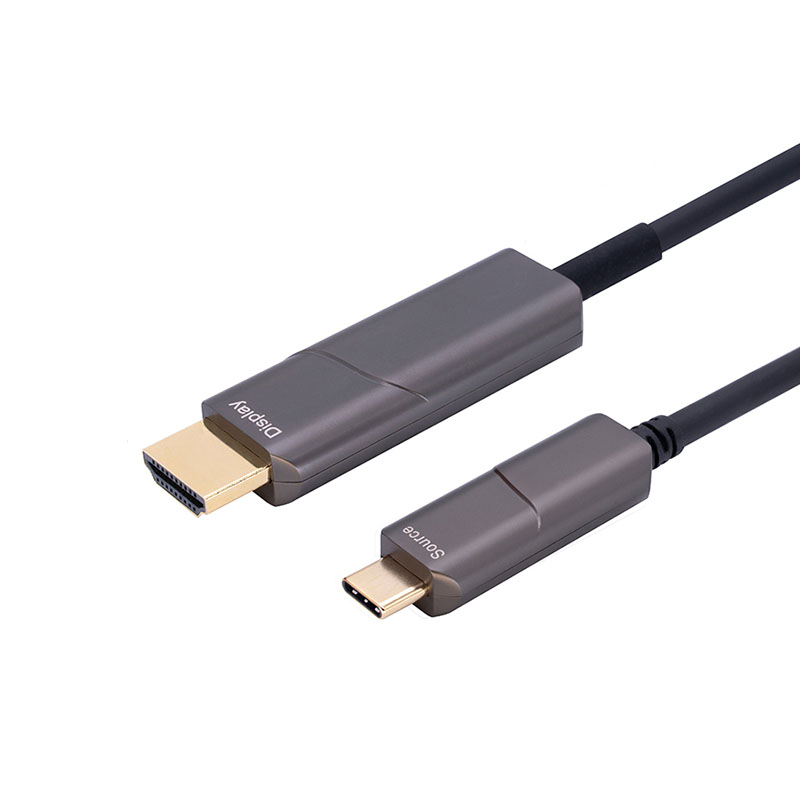
We use advanced conversion chips that support 4K resolution, fast refresh rates, and low latency. This ensures smooth streaming and clear images without flickering. - Broad Compatibility
Our cable works with MacBook Air, MacBook Pro, iPad Pro, Windows laptops, Android phones, and more. Just plug and play — no drivers needed. - Durable Build
Every cable is made with reinforced connectors, flexible jacket materials, and multi-layer shielding. This prevents bending damage and reduces electromagnetic interference. - Perfect for Work and Entertainment
Whether you’re using a second monitor for productivity, streaming Netflix on a big TV, or presenting to clients, the cable delivers reliable performance every time. - Factory Pricing and Customization
Since we are a factory, we offer OEM/ODM services, bulk pricing, custom lengths, colors, branding, and packaging solutions.
Troubleshooting Tips
If your USB C to HDMI connection isn’t working, try these quick fixes:
- Make sure the HDMI device is turned on
- Try switching to another HDMI input
- Use a different HDMI cable to check for faults
- Restart your MacBook Air
- Check if your monitor supports the selected resolution
Most issues come from poor-quality cables, so using a well-designed cable usually prevents these problems.
Final Thoughts
Using a USB C to HDMI cable with your MacBook Air is an easy way to expand your workspace or enjoy content on a bigger screen. With the right cable, you get stable connections, clear video output, and a smooth user experience. As a USB and HDMI factory, Smartavlink focus on high-quality materials, reliable chipsets, and strong compatibility to give users a better and more enjoyable viewing experience.
If you need USB-C to HDMI cables for personal use or bulk orders, we can support you with professional manufacturing and customization options.